
Introduction
Connecting your cable box to a smart TV can open up a world of viewing possibilities, turning your living space into a comprehensive media center. By understanding your TV’s capabilities and following the right steps, this task can be achieved with relative ease. This guide provides you with a clear step-by-step process, ensuring you maximize the potential of your entertainment setup.
Understanding Your Smart TV Ports
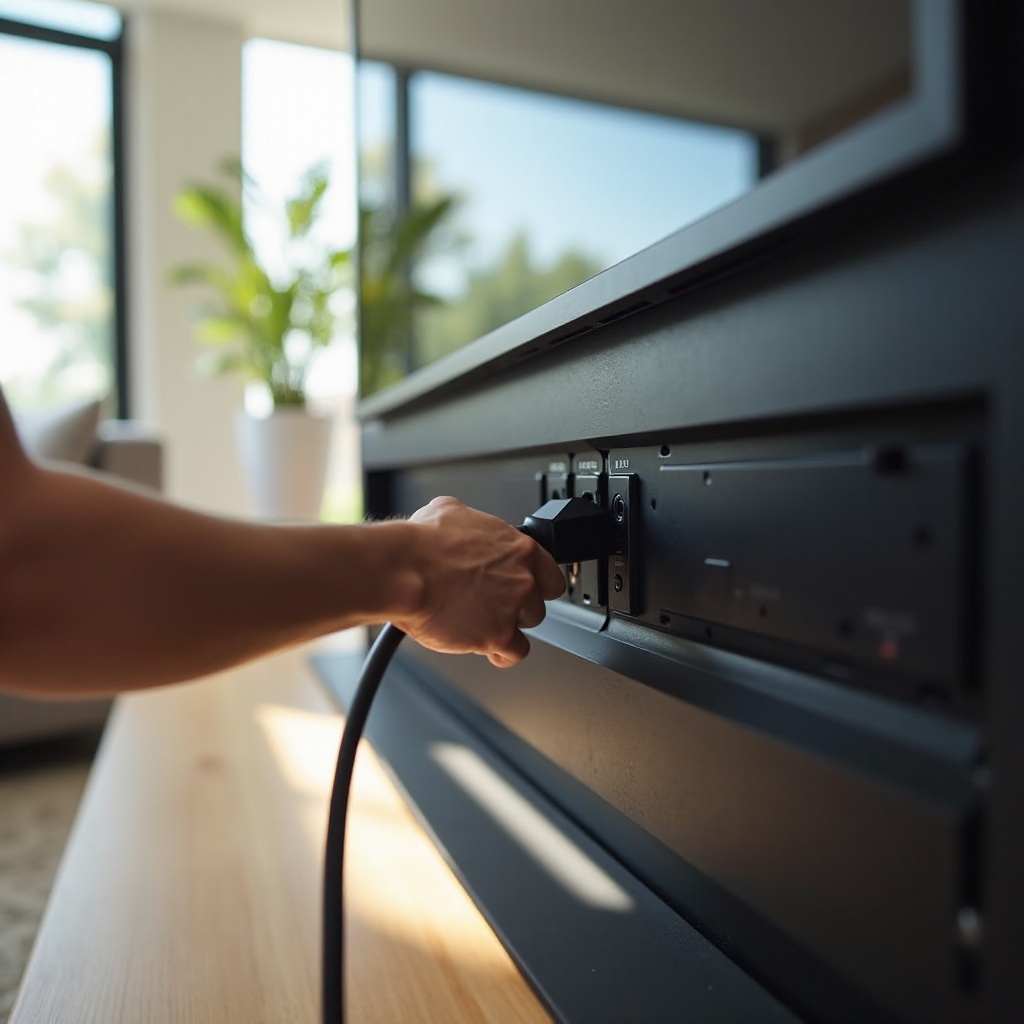
Before beginning your connection process, it’s important to familiarize yourself with your smart TV’s available ports. This knowledge will help you choose the correct cables and optimize your setup.
-
HDMI Ports: These are the primary ports for transmitting high-definition video and audio signals. An HDMI cable is typically the best option for connecting cable to a smart TV due to its superior quality.
-
Other Connection Types (Coaxial, Component, etc.): In cases where HDMI isn’t an option, consider using coaxial or component cables. Each type offers unique advantages and may be necessary depending on your TV’s and cable box’s configurations.
Being aware of the different connection types and their benefits allows you to proceed confidently as you prepare your equipment and establish your system.
Essential Equipment Needed
To ensure a seamless connection, gather the following equipment:
- HDMI cable or an alternative type of cable (such as coaxial or component)
- Power cables for both the TV and cable box
- Remote controls for both devices
- A surge protector or power strip, if required
Having these items on hand helps streamline the setup process and eliminates unnecessary interruptions.
Step-by-Step Guide to Connecting Cable via HDMI
With equipment ready, follow these steps to connect your cable box to the TV using an HDMI cable:
- Gather Your Equipment: Ensure that the TV, cable box, and HDMI cable are powered and within reach.
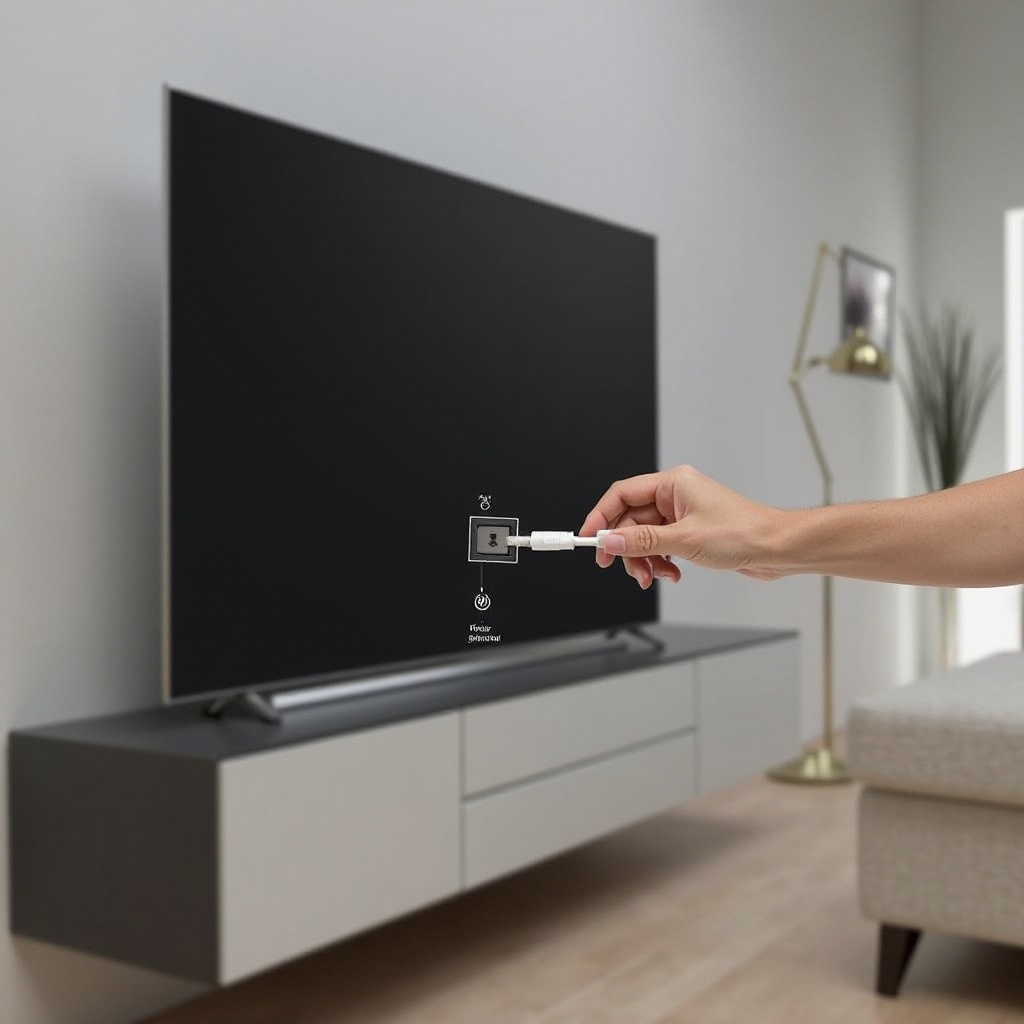
- Connect the HDMI Cable: Insert one end of the HDMI cable into the HDMI port on your cable box and the other end into the HDMI port on your TV. Be sure to note which HDMI port number you’re using for later reference.
- Set the TV Input: Turn on your TV and use the remote to switch to the correct HDMI input. This activates the connection, allowing the transmission of the video and audio signals from the cable box to your TV screen.
Following these steps ensures a resilient connection through HDMI, enhancing the overall quality of your cable TV experience.
Alternative Connection Methods
If you’re facing limitations with HDMI, consider these alternative connection methods:
-
Coaxial Connection: This method involves connecting a coaxial cable from your cable box’s ‘Out’ port to the coaxial ‘In’ port on your TV. Ensure you set your TV to the correct coaxial input.
-
Using a Digital Converter: For older TVs lacking modern input ports, a digital converter can translate digital signals to analog signals, facilitating connection.
With these connections established, the next step is to tweak your TV and cable box settings to optimize your experience.
Adjusting TV and Cable Box Settings
Fine-tuning your TV and cable box settings is crucial for optimum performance:
-
Optimal Picture Settings: Access your TV’s settings menu to adjust brightness, contrast, and color, enhancing your viewing experience significantly.
-
Audio Configuration: Navigate to the audio settings of your TV and cable box to adjust sound preferences for different viewing experiences, whether for everyday watching or a cinematic experience.
Refining these settings ensures you get the most out of your smart TV features, making viewing more enjoyable.
Troubleshooting Common Issues
Encountering technical difficulties is possible, here are some common issues and solutions:
-
Cable Connection Issues: If you experience no picture, double-check all cable connections, ensuring they are secure. If needed, replace any faulty cables.
-
TV Settings Conflicts: If sound or picture quality isn’t as expected, revisit the settings menu or consider resetting both the TV and cable box.
Addressing these common problems ensures long-term satisfaction with your setup, allowing for uninterrupted enjoyment.
Tips for Enhancing Viewing Experience
Maximize your setup by optimizing these features:
-
Resolution and Aspect Ratio: Set the resolution to match your cable output settings for crystal-clear clarity. Adjust the aspect ratio settings for the best fit depending on the content you are watching.
-
Using Smart TV Features: Leverage smart TV capabilities like app integration and screen mirroring alongside your cable viewing for an enriched media experience.
Optimizing these features transforms your system, offering entertainment versatility and flexibility.
Conclusion
Connecting a cable box to a smart TV doesn’t have to be intimidating. Understand your connections, gather the necessary equipment, and follow a clear guide to achieve this. Enjoy an enhanced viewing experience with your streamlined setup.
Frequently Asked Questions
What should I do if there is no sound after connecting my cable to the smart TV?
Ensure all audio settings are correct on both the TV and cable box. Check the cable connections or replace the audio cable if needed.
Can I connect a cable box to my smart TV wirelessly?
Some cable providers offer wireless connection solutions. Check if your cable box and smart TV support wireless connections.
How do I know which HDMI port to use on my smart TV?
HDMI ports are usually labeled (e.g., HDMI 1, HDMI 2). Use any available port but remember its number for easily switching inputs.