Introduction
Deactivating Google Fi on an old phone can seem like a daunting task, but it doesn’t have to be. Whether you’ve switched to a new device or simply no longer need the service, it’s essential to follow the right steps to ensure the deactivation is successful and your data remains secure. In this guide, we’ll walk you through everything you need to do to deactivate Google Fi on your old phone. We’ll cover preparation, detailed steps for deactivation, post-deactivation checks, and tips for troubleshooting common issues.
Understanding the Need for Deactivation
Deactivating Google Fi on an old phone is a necessary process when you upgrade to a new device or change service providers. Not only does it prevent unnecessary charges, but it also ensures sensitive data is safeguarded. Furthermore, deactivating the service on your old phone can help improve the performance of your device, as it frees it from running background processes associated with the Google Fi service. Understanding why deactivation is necessary can help you approach the task with confidence and clarity.
Many users overlook the importance of properly deactivating their service, which can lead to continuous billing and potential data breaches. Therefore, it’s crucial to follow a structured approach to deactivation for a smooth transition to your new device or service.

Preparing for Deactivation
Preparation is key to a successful deactivation process. Before you begin, ensure you have everything ready.
Backup Important Data
Before deactivating Google Fi, ensure all important data on your old phone is backed up. This includes contacts, messages, photos, and any other critical files. Use cloud services or external storage to save your data.
Ensure Wi-Fi Connection
A stable internet connection is crucial for a smooth deactivation process. Connect your old phone to a reliable Wi-Fi network to avoid interruptions while following the steps for deactivation.
Check Battery Level
Make sure your old phone has a sufficient battery level. It’s recommended to have at least 50% battery life or keep the device plugged into a power source to avoid shutdowns during the deactivation process.
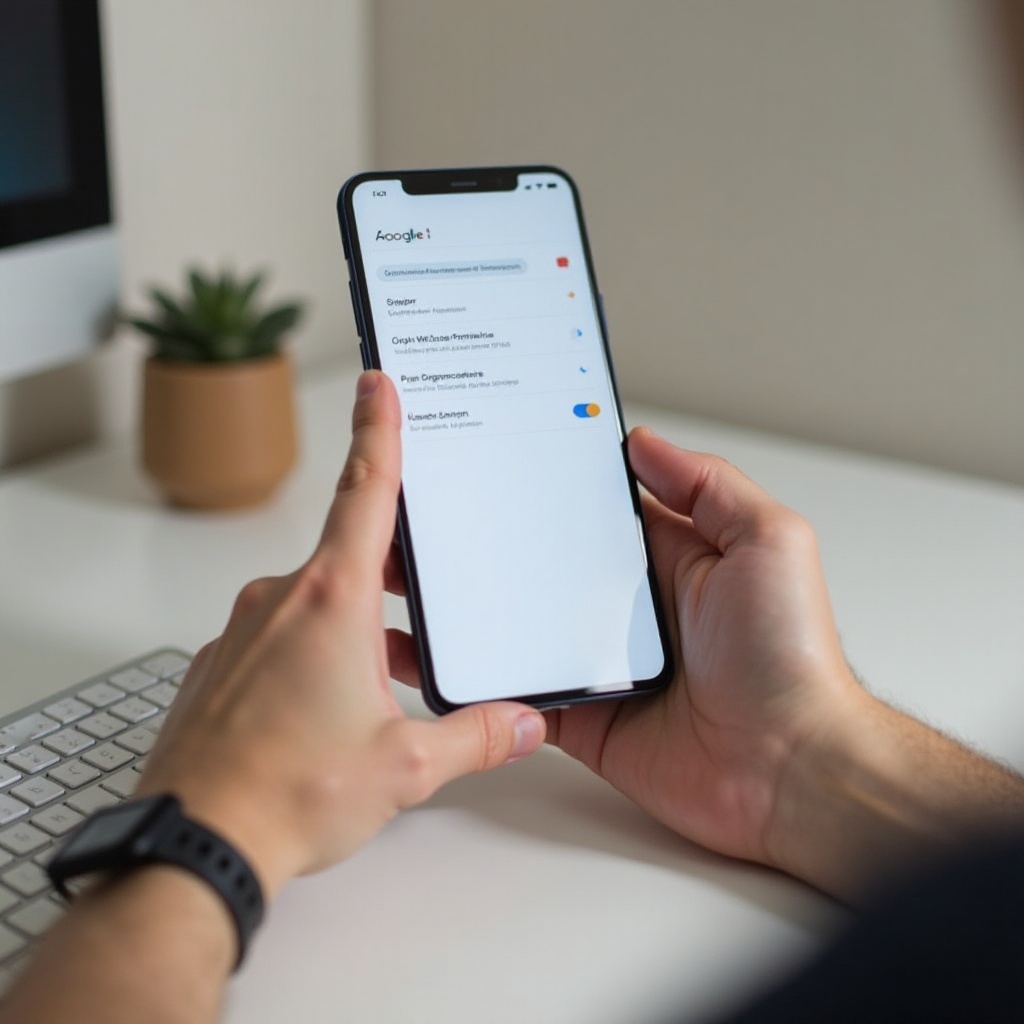
Detailed Steps to Deactivate Google Fi
With a prepared device, you’re ready to start the deactivation process. Follow these steps carefully:
Open the Google Fi App
- Locate the Google Fi app on your phone and open it. Ensure you are logged into the app with the account associated with the service you wish to deactivate.
Navigate to Account Settings
- Within the Google Fi app, look for the menu icon (usually three horizontal lines or dots) and tap on it. This will open a sidebar menu where you will find the settings.
Select Manage Plan
- In the Account Settings, click on the ‘Manage Plan’ option to access various plan management features.
Choose Deactivate Service
- Among the options available in Manage Plan, find and select ‘Deactivate Service’. This will prompt a series of confirmation steps to ensure you want to proceed.
Confirm Deactivation
- Follow the on-screen instructions to confirm the deactivation. This may involve entering your password or another form of verification to ensure that the request is legitimate.
By following these steps, you should successfully deactivate the Google Fi service on your old phone.
Post-Deactivation Checks
After deactivation, it’s important to carry out a few additional steps to ensure everything is in order.
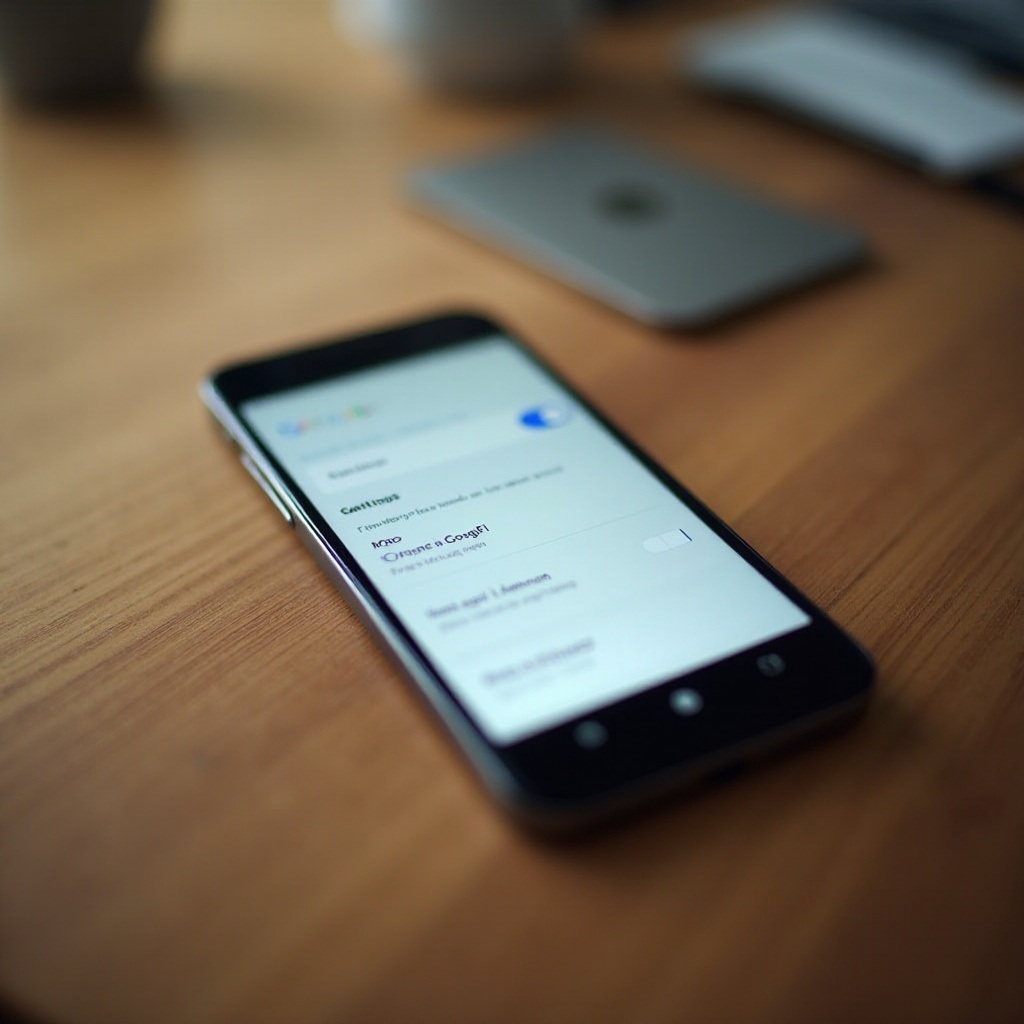
Verify Deactivation Status
- Reopen the Google Fi app and check your account status. It should indicate that the service has been deactivated. You can also verify this by checking for any notifications or alerts from Google Fi.
Resetting the Phone to Factory Settings
- To fully prepare your old phone for a new use or a new owner, consider performing a factory reset. This removes any residual data and settings associated with your Google account and Google Fi service. Navigate to your phone’s settings, find the reset options, and choose ‘Factory Reset’.
Remove Google Account from the Device
- Lastly, remove your Google account from the old phone. This prevents any accidental sync or data transfer post-deactivation. Go to account settings, find your Google account, and select ‘Remove Account’.
Troubleshooting Common Issues
Despite following the steps correctly, you might encounter some challenges. Here’s how to handle common issues:
Unable to Find the Deactivation Option
If you can’t find the deactivation option, ensure your Google Fi app is updated to the latest version. If the issue persists, check Google Fi’s support documentation for any recent changes in the deactivation process.
Deactivation Errors and Resolutions
Errors during deactivation may occur due to connectivity issues or system glitches. Ensure your internet connection is stable and retry. If the problem continues, restarting your device or clearing the app cache might help.
Contacting Google Fi Support
For persistent issues, contacting Google Fi support is your best bet. Provide them with details of the problem and any error messages. They can offer step-by-step guidance to resolve the issue.
Conclusion
Deactivating Google Fi on an old phone is a straightforward process if you follow the right steps. Proper preparation, following the detailed steps, and performing post-deactivation checks ensure a smooth transition. Should you face any issues, troubleshooting tips and support from Google Fi can help resolve them quickly. By following this guide, you can successfully deactivate Google Fi and prepare your old phone for its next use.
Frequently Asked Questions
Can I reactivate Google Fi on a deactivated phone?
Yes, you can reactivate Google Fi on a deactivated phone by simply signing back into the Google Fi app and following the prompts to restore service.
Will deactivating Google Fi delete my Google account?
No, deactivating Google Fi will not delete your Google account. The deactivation only affects the Google Fi service, not your overall Google account.
How can I transfer my Google Fi service to a new phone?
To transfer Google Fi service to a new phone, insert your SIM card into the new device or follow eSIM setup instructions, log into the Google Fi app, and follow the prompts to activate the service on your new phone.