
Introduction
The iPad Air, with its blend of powerful performance and sleek design, has captivated many users. To fully utilize its capabilities, it’s essential to understand the device layout, particularly its audio features. A frequent query from users is, ‘Where is the microphone on the iPad Air?’ This guide not only answers that but also offers tips on optimizing its use and addressing common issues.

Locating the Microphone on Your iPad Air
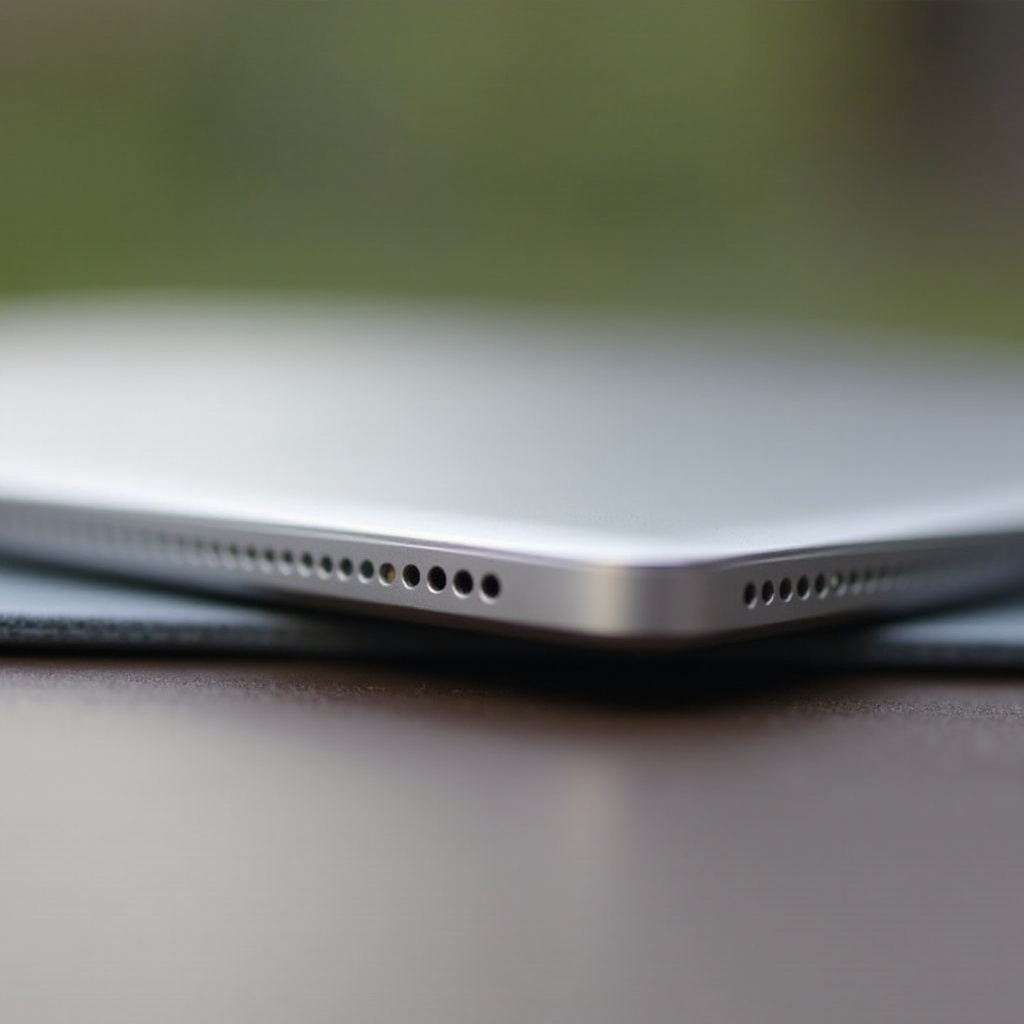
Knowing the placement of your iPad Air’s microphones is straightforward once you’re aware of what to look for. Most iPad Air models feature multiple microphones, though exact placement can vary slightly depending on the version. Here’s how you can locate them:
-
For iPad Air (3rd Gen and later): Typically, the primary microphone is located at the top of the device, close to the power button. Additional mics may surround the rear camera lenses to facilitate better noise cancellation and enhanced audio capture.
-
Older Models: On earlier versions of the iPad Air, microphones might be positioned near the edges of the device. Consulting your user manual or seeking online resources with visual aids can be handy for precise identification.
Understanding where the microphones are positioned allows for better use, especially when handling multimedia or participating in calls. This knowledge directly complements the capabilities described in the next section.
Features of the iPad Air Microphone
The microphone on the iPad Air offers excellent audio capture, suitable for numerous activities. With advanced technology, the microphone rivals some standalone devices in certain aspects.
Features include:
-
Noise Cancellation: The multiple microphones collaborate to suppress background noise, allowing your voice to be clear during recordings or video calls.
-
Wide Frequency Capture: Whether you’re recording videos or using voice commands, the microphones are adept at capturing a broad spectrum of sounds to ensure clarity and detail.
Compared to other tablets, the iPad Air’s microphone stands out due to its superior audio quality and practical design, making it a valuable tool for various applications.

Optimizing Microphone Usage on the iPad Air
Maximize the effectiveness of your iPad Air’s microphones with these straightforward tips:
-
Environment: Choose quiet surroundings to minimize ambient noise and ensure clearer audio capture. This is crucial, as environmental factors can significantly impact sound quality.
-
Positioning: Angle the iPad slightly toward you when speaking, ensuring nothing obstructs the microphone and speaker. Proper positioning aids the microphone in distinguishing your voice clearly.
-
Software Settings: Regular software updates bring improvements. Check your device’s settings for any noise reduction features or microphone enhancements.
-
Use Accessories: For critical recordings, using external microphones or headsets with built-in mics can substantially improve sound quality.
By following these strategies, you can significantly enhance your device’s audio performance, which is essential for both professional needs and casual uses.
Troubleshooting Common Microphone Issues
Even with advanced technology, you may occasionally encounter microphone issues on your iPad Air. Here are solutions to typical problems:
-
Microphone Not Capturing Audio: Check for physical obstructions over the microphone openings and perform a device restart to resolve any software glitches.
-
Low Audio Quality: Inspect the microphone openings for dust or debris. Cleaning them gently with a soft brush can often improve audio clarity.
-
No Sound During Calls: Confirm that all relevant app permissions are enabled under your device’s settings; this ensures that applications can access the microphone.
Suppose you try these solutions, and the problem persists. In that case, a settings reset or a system restore might be necessary. If issues remain unresolved, it’s advisable to seek assistance from Apple Support. This troubleshooting knowledge ensures that users can effectively manage and resolve issues, reinforcing the advantages discussed in previous sections.
Conclusion
Understanding the placement and features of the iPad Air’s microphones empowers users to fully utilize this device’s capabilities. Whether used professionally or casually, properly optimizing your microphone use enhances every audio interaction. Continue to explore and experiment with your iPad Air’s audio potential for the best experience.
Frequently Asked Questions
How many microphones does the iPad Air have, and where are they located?
Typically, the iPad Air has multiple microphones. The primary one is located at the top near the power button, with additional ones around the rear camera for noise cancellation.
Can the microphone on the iPad Air be used for professional recordings?
Yes, the microphone captures high-quality audio suitable for professional recordings. Use external mics for even better quality.
What should I do if my iPad Air’s microphone is not working properly?
Check for obstructions, verify app permissions, and clean the microphone. If issues persist, restart the device or contact Apple Support.